Immediate renderer
Although the most common way of using rin is through the scene graph like model we've just seen in the two previous chapters, where we add entities to the scene and they are automatically rendered in the most efficient way, sometimes that model might result cumbersome.
If we only want to draw some lines, text, render a full quad with a custom shader or similar the scene model, more thought to be used with 3D geometry, lights... is not ideal.
Because of that rin also provides an immediate mode that is sometimes easier or simply more adequate for certain tasks. This two modes can even be mixed so if we start an application in immediate mode but later on we realize we want to have a scene graph like application, it's easy to convert one into the other. Or if we are working on a 3D application but we want to simply show some debug view on top or add some gui elements we can add an immediate renderer system.
In this chapter we are going to see only how to use a standalone immediate renderer.
To create an immediate mode application we can use cargo-rin:
cargo rin new immediate_renderer --immediate
Which will create a new project in a folder called immediate_renderer using the immediate template.
As you can see the initial code for an immediate mode application is somehow simpler than for a scene graph like one but the layout is pretty similar:
use rin::{ecs::{EntitiesThreadLocal, ResourcesThreadLocal}, gl};
use rin::prelude::*;
use rin::math::*;
use rin::window::{Window, EventsPoll};
use rin::scene::{
    Scene, SceneBuilder,
    ImmediateRenderer,
};

pub fn setup(window: Window, gl: gl::Renderer<'static>, events: EventsPoll) -> Scene {
    // Create the scene builder
    let mut scene_builder = SceneBuilder::new(events);

    // Create a renderer using a render surface
    let renderer = ImmediateRenderer{
        window,
        renderer: gl,
        system: render_system,
    };

    // Create the scene
    let mut scene = scene_builder.with_renderer(renderer).build();

    // Return the newly created scene
    scene
}

fn render_system(
    gl: &gl::Renderer,
    viewport: Rect<i32>,
    entities: EntitiesThreadLocal,
    resources: ResourcesThreadLocal
){

}
In the setup function it creates an ImmediateRenderer using the render_system function. The render_system function is a special function that acts as a system but apart from the entities and resources parameters that receives any other system, it receives a gl::Renderer that we can use to draw to the window, and the viewport.
Using the ImmediateRenderer it creates the scene and returns it as in previous examples but there's no camera since all the view setup is in this case done manually from the render_system.
Before adding any code, let's import the color constants that we are going to use later, after the last use at the top of the file let's add:
use rin::color::consts::*;
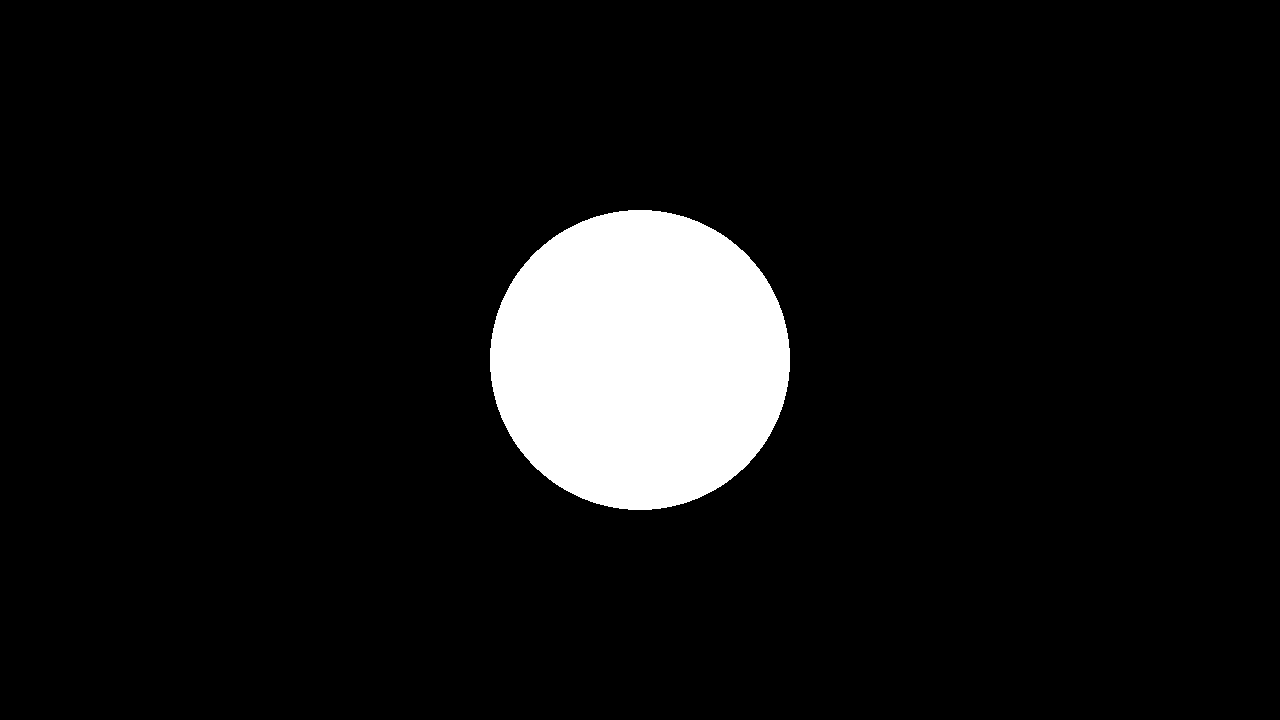
Let's start by drawing a circle. Inside the render_system function let's add:
    let half_screen = convert(pnt2(viewport.width, viewport.height) / 2);
    gl.draw_circle_fill(&half_screen, 150., 200, &WHITE);
If you are using rust-analyzer on visual code or any other editor that supports it, it'll show what each of the parameters are but in any case with the draw_circle_fill function we are drawing a filled circle at the passed position, in the middle of the screen, with radius 150. and resolution 200 in white color.
To calculate the middle of the screen we just divide the viewport size by 2 and use convert to convert the integer Vec2 to a float one which is what the draw_circle_fill function expects.
Running the application using cargo run will show a black screen with a white circle in the middle.
Strict number types
If you had no previous experience with rust you might have noticed by now that the number type system is pretty strict. When dividing the viewport size point by 2, that 2 needs to be an integer, if we used a float, by adding a dot after the 2, the compiler would fail. We then need to convert the Pnt2 to a float point since thats what the circle drawing function expects and the draw circle function admits a float radius and an integer resolution, which makes sense since the radius isn't necessarily an integer but the resolution doesn't make sense as a float since it's the number of segments we use to draw the circle. If any of this types is wrong the compiler would fail with a message letting us know about the issue.
This strictness avoids a lot of problems that are difficult to debug by showing errors at compile time and although it might be cumbersome at the beginning it's easy to get used to, mostly since rust-analyzer shows use the problems in the editor itself without even needing to compile the application.
Drawing several circles
Let's now draw several circles. For that let's use the rand crate that allows us to generate random numbers. Inside the immediate project folder, from the terminal, let's type:
cargo add rand
Next let's create a few circles in different positions. In order to do that we'll need to store the positions of the circles in some place. As we did in the previous example we can create a Position component and create entities in the scene that we can then read from the renderer to draw circles at the position of each entity.
First of all let's create the Position component. Before the setup function let's add:
use serde_derive::{Serialize, Deserialize};
use rin::ecs::{Read, Write, Component};

#[derive(Clone, Copy, Debug, Serialize, Deserialize, Component)]
struct Position(Pnt2);
derive
The derive annotation above our component makes the component implement certain traits, the
Componenttrait is a rin trait that allows the struct to be used as a component as we'll see in a moment. From the rest,Clone,Copy, andDebugare pretty obvious by their name and are standard rust traits that don't really need to be derived but are useful to have. You can look more documentation for them in the official rust docs.
SerializeandDeserializeallow a type to be turned into several formats for storage and right now are required by rin whenever we want to use a type as a component. These traits come from the serde crate.
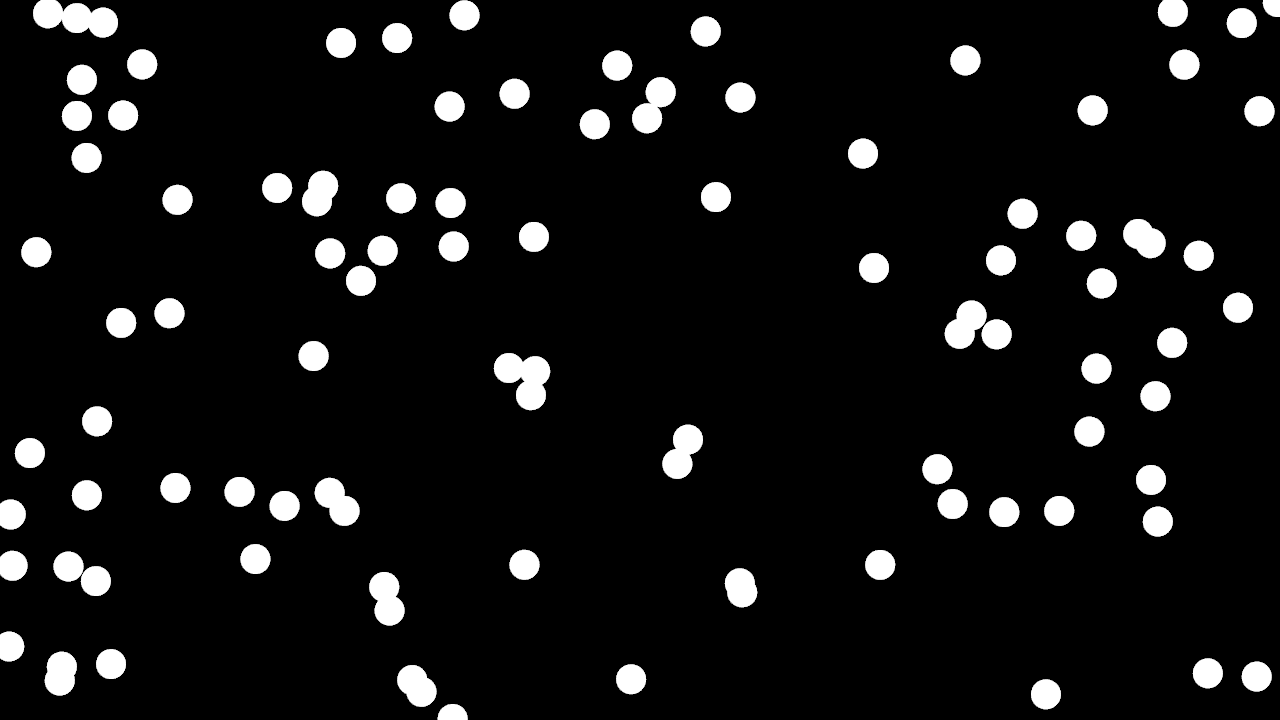
Now let's use the Position component to create 100 entities that will show as circles at random positions, in setup, after creating the scene:
    let viewport = scene.viewport();
    let w = viewport.width as f32;
    let h = viewport.height as f32;

    for _ in 0..100 {
        scene.new_entity()
            .add(Position(pnt2(rand::random::<f32>() * w, rand::random::<f32>() * h)))
            .build();
    }
And finally in the render system, let's remove the code we previously added and change it with:
    for pos in entities.iter_for::<Read<Position>>() {
        gl.draw_circle_fill(pos, 20., 30, &WHITE)
    }
Running the application with cargo run will now show 100 small circles randomly distributed in the screen.
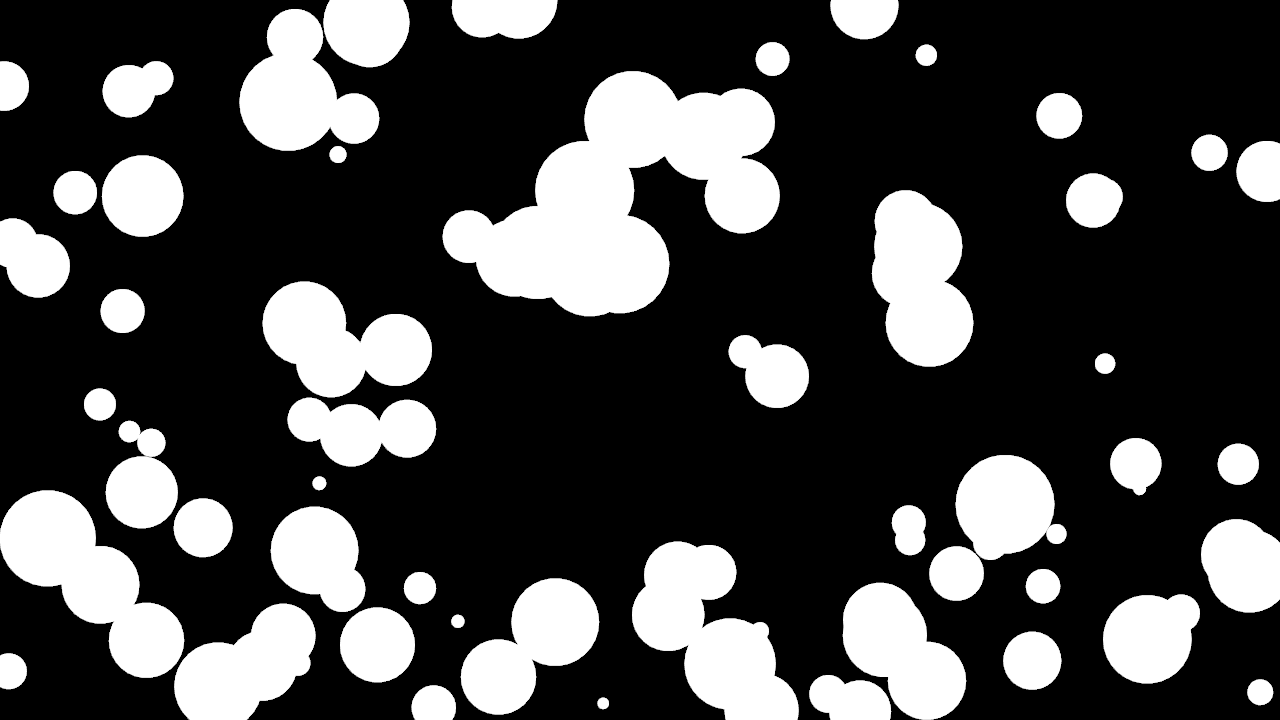
Varying sizes
All the circles now have the same radius, 20. since that's what we use to draw then in the render system. What if we wanted to draw them with different radiuses?
For that we could create one more component, Size, that let's the renderer know which size to render each circle at.
Let's first of all create that component. For that after the Position component, let's add:
#[derive(Clone, Copy, Debug, Serialize, Deserialize, Component)]
struct Size(f32);
Now for each entity let's create a Size, in setup, inside the for loop let's add a Size after adding the position. The resulting code ends up like:
    for _ in 0..100 {
        scene.new_entity()
            .add(Position(pnt2(rand::random::<f32>() * w, rand::random::<f32>() * h)))
            .add(Size(rand::random::<f32>() * 90. + 10.))
            .build();
    }
Which creates a random size for each entity, between 10 and 100.
Now let's read the size from the renderer and use it as the radius. For that we need to change our for loop to not only retrieve the Position component but also the Size and then use both to draw the circles:
    for (pos, size) in entities.iter_for::<(Read<Position>, Read<Size>)>() {
        gl.draw_circle_fill(pos, size.0 / 2., 30, &WHITE)
    }
size.0
The way we use the size by accessing the f32 number inside the struct using .0 might seem strange if you don't have experience with Rust. Since we are using a struct which fields have no name the way we access those fields is by using their position number starting at 0. If the Component had more than one field they would be accessed with .1, .2 ...
Why don't we need it for the position then? We could do the same by doing
&pos.0instead of simply passingposbut rin implementsstd::ops::Derefautomatically for every Component with only one unnamed field so passing a reference to a Position works the same as passing a reference to it's only member. This won't work for arithmetic operations like we do withSizebut can be used in many other cases like calling methods of the unique unnamed member or passing references like we just did withpos.
Note how we use a tuple, several elements in between parenthesis, when specifying more than one type of component. Both on the iter_for and the resulting variables. This is needed and trying to retrieve more than one component type without a tuple will fail.
If we run the application again with cargo run will see several circles distributed randomly but now of different sizes. We could even use the size to change the resolution instead of using a fixed 30 but 30 looks good for the size range we are using so let's leave it as it is.
Adding movement
Let's now add movement to the circles. For that we'll need one last component, Velocity. Again let's create it at the top of the file after Size:
#[derive(Clone, Copy, Debug, Serialize, Deserialize, Component)]
struct Velocity(Vec2);
Let's now add a Velocity to each entity. Again in setup, inside the same for loop where we are already creating the entities with Position and Size, let's add a random Velocity for each. The resulting loop looks like:
    for _ in 0..100 {
        scene.new_entity()
            .add(Position(pnt2(rand::random::<f32>() * w, rand::random::<f32>() * h)))
            .add(Size(rand::random::<f32>() * 90. + 10.))
            .add(Velocity(vec2(rand::random::<f32>() * 20. - 10., rand::random::<f32>() * 20. - 10.)))
            .build();
    }
Of course if we tried to run the application now, nothing would change. The new Velocity component is just a piece of data that won't change anything until we use it from a system. In order to do that let's create a new function before the render system:
fn update_position(clock: &Clock, entities: Entities, resources: Resources) {
    let delta = clock.game_time_delta().as_seconds() as f32;
    for (pos, vel) in entities.iter_for::<(Write<Position>, Read<Velocity>)>() {
        pos.0 += vel.0 * delta;
    }
}
And in order for this function to run let's add the system to the scene. After creating the scene_builder let's add:
scene_builder.add_update_system(update_position);
If we run the application now, we'll see that the circles move, but leave a trail, that's cause in rin when using an immediate renderer, we need to clear the screen manually. In the render system let's add right before the for loop:
gl.clear(&BLACK);
Which clears the screen with black on every frame before drawing the circles. Now running the application will show the circles moving in the screen.
If we left the app running long enough, all the circles would disappear from the screen. What if we wanted to make them rebound against the edges of the screen? To do that we could check if the position of the circle after adding the velocity is outside of the screen and in that case reverse the velocity so next frame the circle would move in the opposite direction.
To do that we need access the the viewport from the update system. The viewport is stored by rin as a resource and can be accessed as some other resources that can be checked in the documentation in the following form.
First of all let's import the correct Viewport type:
use rin::scene::transformation::Viewport;
If you use rust-analyzer automatic import on autocompletion be sure to not import other Viewport like the one on gl. Now on update let's retrieve the viewport from resources and use it to make the circles rebound, the final system looks like:
fn update_position(clock: &Clock, entities: Entities, resources: Resources) {
    let viewport = resources.get::<Viewport>().unwrap();
    let delta = clock.game_time_delta().as_seconds() as f32;
    for (pos, vel) in entities.iter_for::<(Write<Position>, Write<Velocity>)>() {
        pos.0 += vel.0 * delta;
        if pos.x < 0. || pos.x > viewport.width as f32 {
            vel.x = -vel.x
        }
        if pos.y < 0. || pos.y > viewport.height as f32 {
            vel.y = -vel.y
        }
    }
}
Note how we had to change the access operator for Velocity from Read to Write since we now need to modify it and how we can access the velocity and position components x and y directly without doing pos.0.x, although we could do that too, because of the automatic Deref implementation for simple wrapper components.
Now the circles bounce when they arrive at the borders of the screen. The rebound doesn't happen at the edge of the circles but at their center and one frame later but we'll leave that as an exercise for the reader.
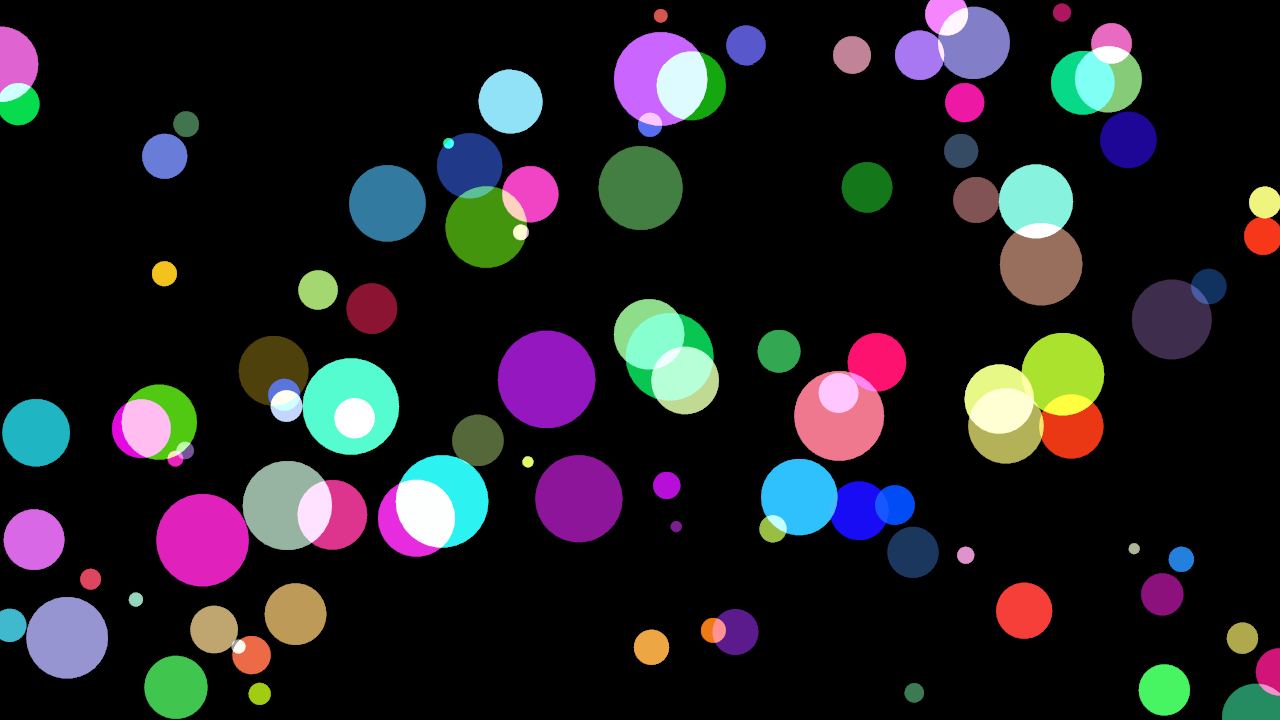
Adding colors
Let's quickly add different colors per circle. The idea is the same as until now. We create a Color component, add a random color per entity and use it when drawing.
The imports:
use rin::color::{Rgb, Rgba, rgb, rgba};
The component:
#[derive(Clone, Copy, Debug, Serialize, Deserialize, Component)]
struct Color(Rgb<f32>);
The setup:
    for _ in 0..100 {
        scene.new_entity()
            .add(Position(pnt2(rand::random::<f32>() * w, rand::random::<f32>() * h)))
            .add(Size(rand::random::<f32>() * 90. + 10.))
            .add(Velocity(vec2(rand::random::<f32>() * 20. - 10., rand::random::<f32>() * 20. - 10.)))
            .add(Color(rgb!(rand::random(), rand::random(), rand::random())))
            .build();
    }
And the render:
    gl.clear(&BLACK);
    let iter = entities.iter_for::<(
        Read<Position>,
        Read<Size>,
        Read<Color>
    )>();
    for (pos, size, color) in iter {
        gl.draw_circle_fill(pos, size.0 / 2., 30, &color.0)
    }
Some notes
When adding the color to the entity we haven't specified the type of the random number to be an f32 as we've done before. That's because in this case the parameter to the Rgb type constructor are f32 so rust can directly guess the type. That's usually the most common but in the previous examples we where doing arithmetic operations with the result from
rand::random()which stopped rust from being able to guess the type.When adding the new type to the iterator for drawing the resulting line was too long so we separate the iterator and the for loop in two lines for readability.
When passing the color to
gl.draw_circle_fillwe need to explicitly specify&color.0and can't just pass color as we did with pos. This is because the gl.draw_circle_fill function is generic over the type of color it accepts so it can take an Rgb of any number type but also a constant like WHITE or another color type. Rust has a limitation for which generic parameters like this can be guessed from a type that implements aDerefso we need to specify&color.0to directly pass a type that implements ToRgba, theRgb<f32>insideColor.
Alpha blending
In order to show how to change the gl state let's change the circles to have some alpha. First of all let's change the color from Rgb to Rgba:
#[derive(Clone, Copy, Debug, Serialize, Deserialize, Component)]
struct Color(Rgba<f32>);
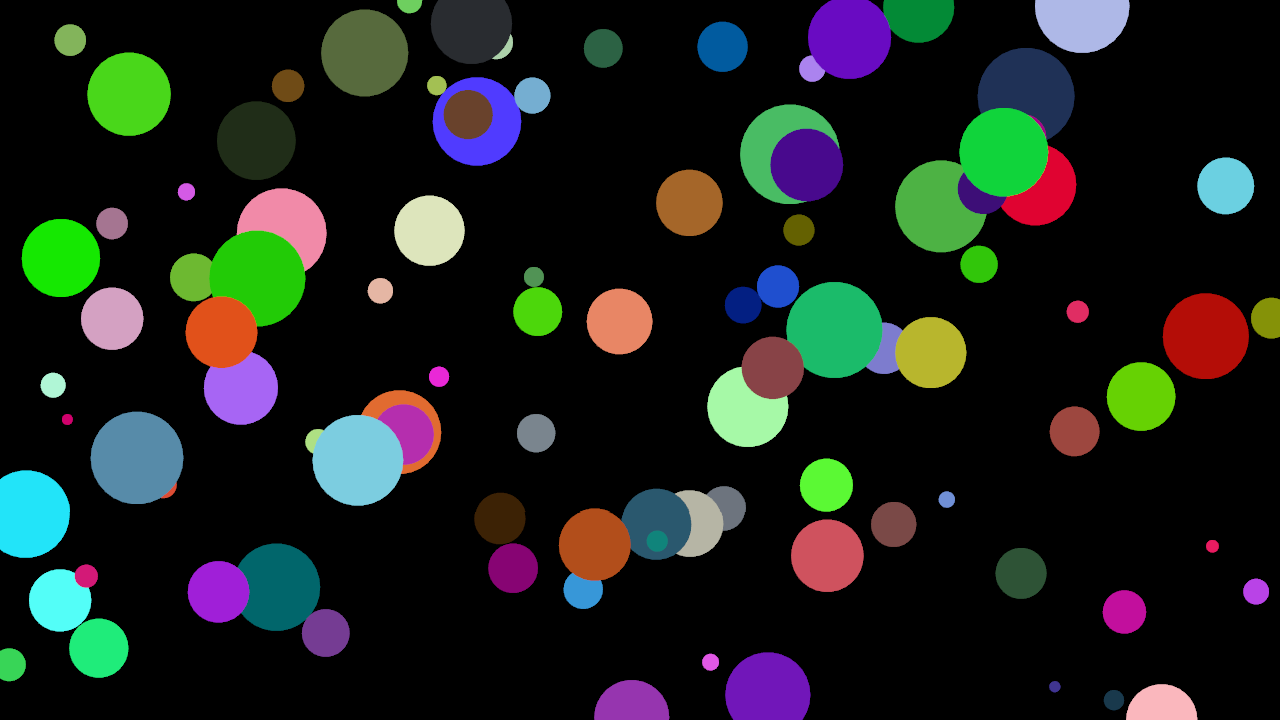
Then in setup, let's change the rgb calls to rgba and let's use an extra parameter 0.5 for the alpha.
.add(Color(rgba!(rand::random(), rand::random(), rand::random(), 0.5)))
Finally before rendering we'll need to enable alpha blending in the gl renderer, in the render_system function after clearing and before drawing we create a copy of the renderer but adding new properties:
    gl.clear(&BLACK);

    let gl = gl.with_properties(&[
        gl::Property::Blend(true),
        gl::Property::BlendFunc(gl::ONE, gl::ONE_MINUS_SRC_ALPHA),
    ]);
    let iter = entities.iter_for::<(
        Read<Position>,
        Read<Size>,
        Read<Color>
    )>();
    for (pos, size, color) in iter {
        gl.draw_circle_fill(pos, size.0 / 2., 30, &color.0)
    }
Everything rendered with the new renderer will have blending enabled. We use the same name gl, cause we don't need the old one anymore but we could use a different name if we wanted to reuse the original renderer or use a block to scope the copy with blending.
The state of the new renderer is set only once and even if we would alternate between using one and the other the state changes would be the minimum possible required since tin internally tracks the state and only changes whatever it needs to set the state of the renderer we are drawing with making it much easier to use than the traditional push/pop architectures while being as fast or more since the state changes done are reduced to a minimum.